Tutorial prepared by Daniel G. Koehl, senior geology student in the Dept of Earth Sciences, TTU.
One of the simplest and most useful tools in geology is the Jacob staff. More robust than a tape measure or meter stick, the Jacob staff is used to measure bed thicknesses on an outcrop. The staff is usually 1.0-1.5 m and solid enough to be held perpendicular to bedding in areas of steep dip without collapsing or bending. (Click here to learn about apparent vs. true thicknesses.) The top of the staff can be designed to hold a Brunton compass, which is then used to ensure the staff is truly perpendicular to bedding. To learn more about the history of the Jacob staff as a surveying tool, click here.

This tutorial shows how to construct a simple and lightweight Jacob staff using materials that can be purchased at your local hardware store. The total cost is $10-$20, much less than professional models. While some staffs have a fixed attachment for a Brunton compass, this student version is best used as a measuring tool and photographic aid. It is an ideal design for a university-level field geology course.
MATERIALS
- measuring tape in metric units
- marker
- electric tape
- PVC glue
- 5 ft. or 10 ft. length of 3/4-inch diameter PVC pipe (to be cut down)
- two 3/4-inch diameter PVC caps
- PVC pipe cutter [*Optional. Local hardware stores or your university machinery shop may be able to cut the pipe down for you.]

CONSTRUCTION
Step 1. Decide what length you would like the staff to be: 1.0 m or 1.5 m. Both are useful in the field. In the images below, we will make a 1.0 m. Jacob staff to use in the Tennessee Tech sedimentary geology lab.
Step 2. Cut the pipe to be 1 cm LESS than your desired length. This allows enough space to attach the end caps. You can use a PVC pipe cutter, or you may be able to have your local hardware store or university machine shop cut the pipe for you.
Step 3. Place the PVC end caps on either end of the pipe. Use a tape measure to verify that the pipe is the correct total length with the caps in place. Then, use the PVC glue to attach the end caps.

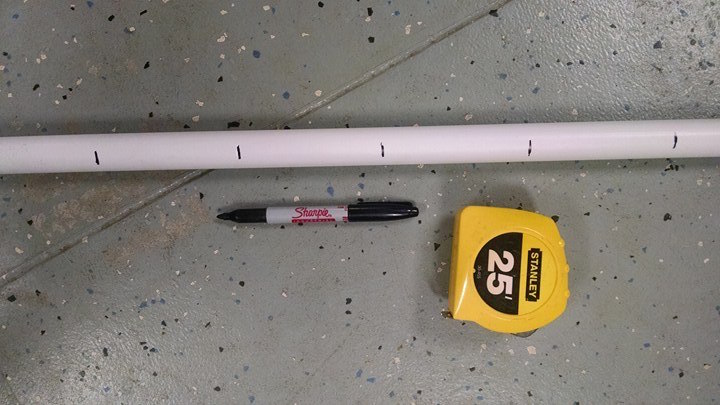
Step 4. Use the marker and tape measure to mark the pipe at 10 cm increments.

Step 5. At alternate intervals on the staff, wrap electrical tape between the notches. For this staff, 1.0 m, we taped five notches total, including one end with a cap.

Nice work – – the completed staff should look like the one below. The next step is to take it into the field to measure section!

